Saturday, September 15, 2012

More rotten wood

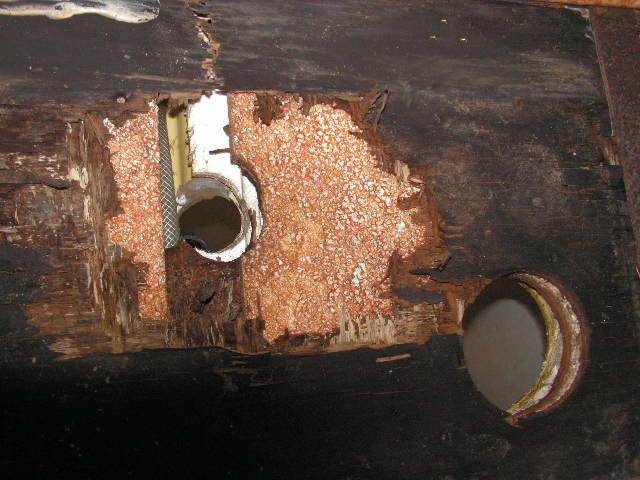
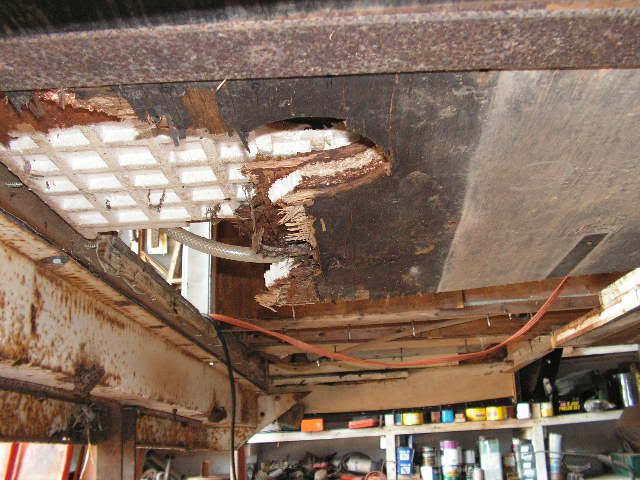
The shower floor was soft, and I did not want to be taking a shower and suddenly end up under the camper, in my birthday suit.
Rot under shower floor
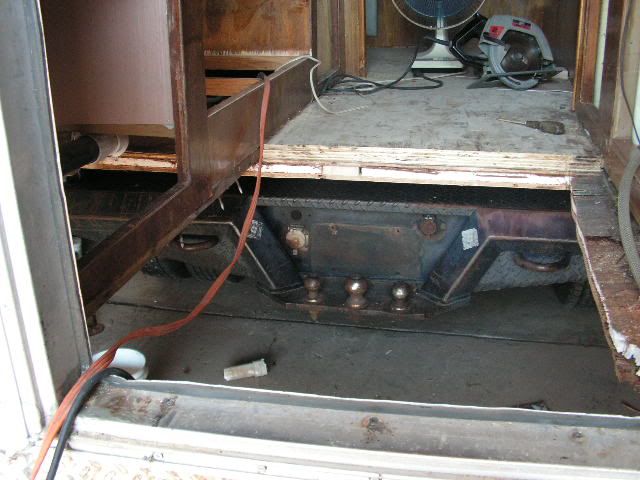
Rot at entry door, notice the 2 layers of plywood that had been overlayed on the entire floor area.

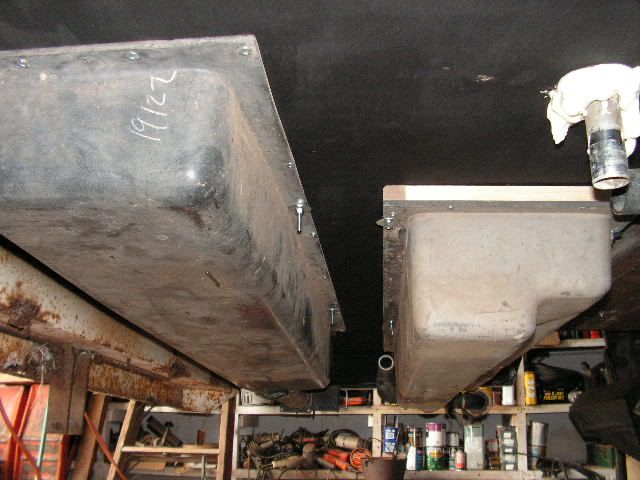
Removed the back 3 feet of camper floor that hangs out past the truck bed

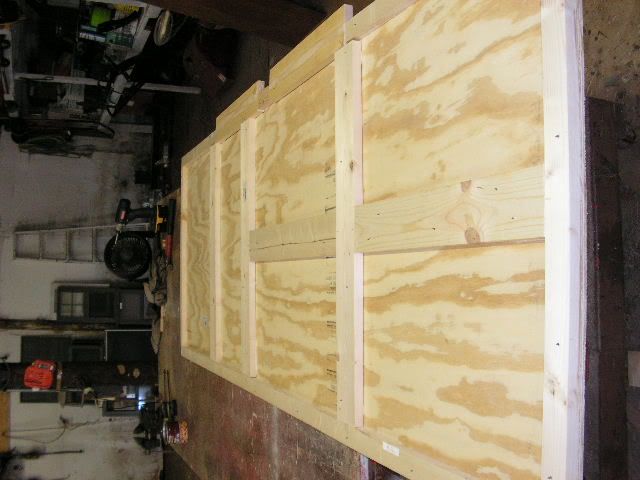
Building up the new section, 2 layer of 1/2 inch plywood, with braceing and voids were fitted with 3/4 inch dow corning foam board
New section installed, and coated with rubberized automotive undercaoting

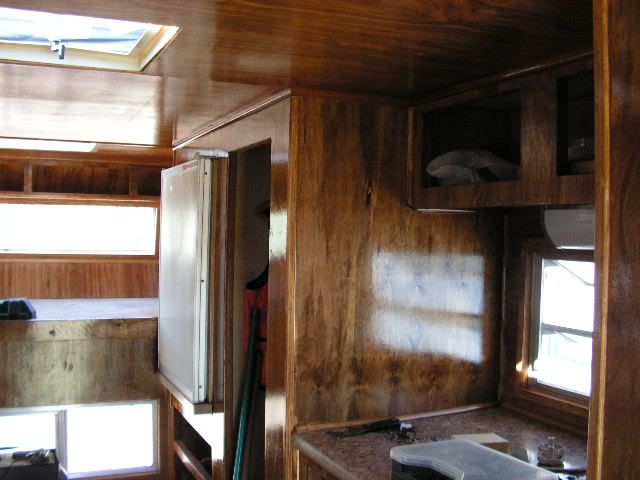
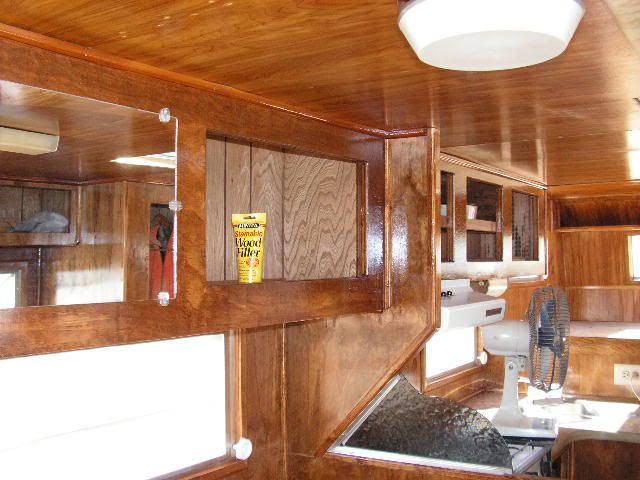
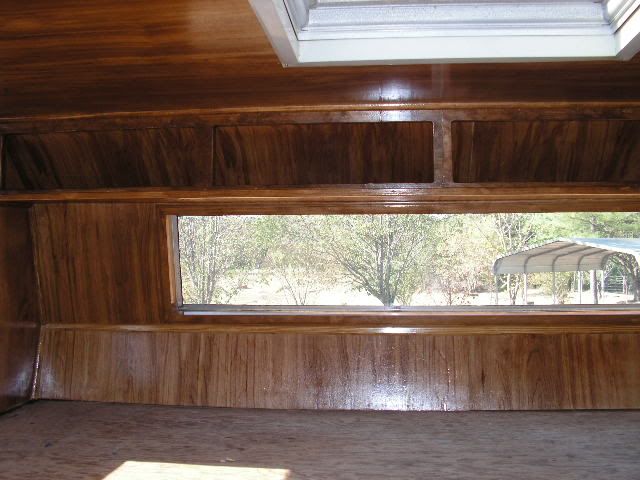
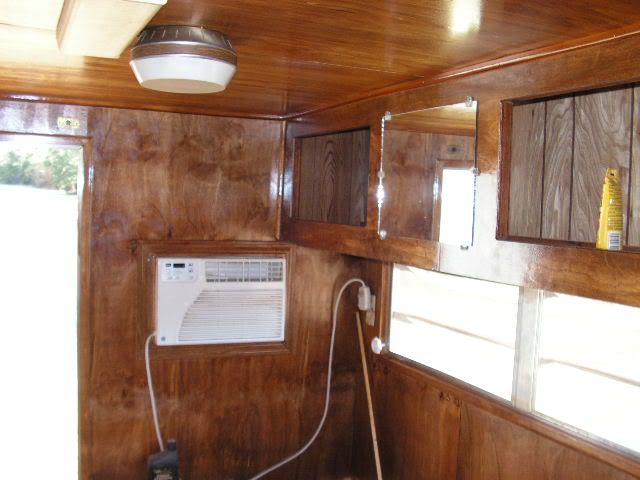
Stain and varnish

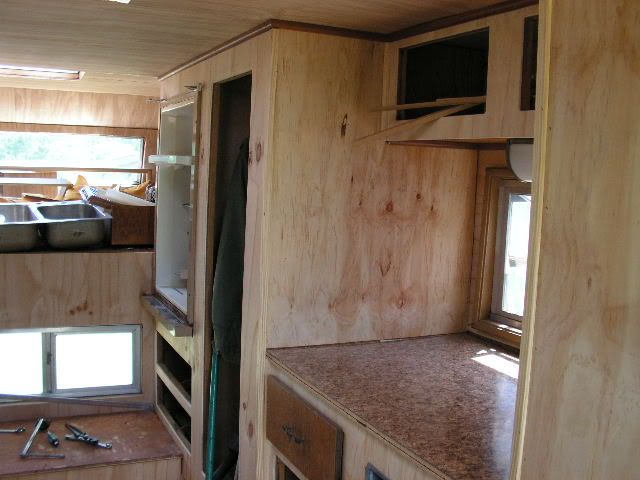
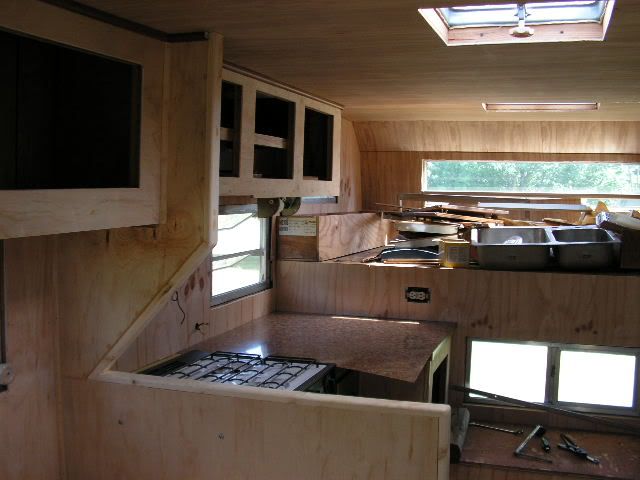
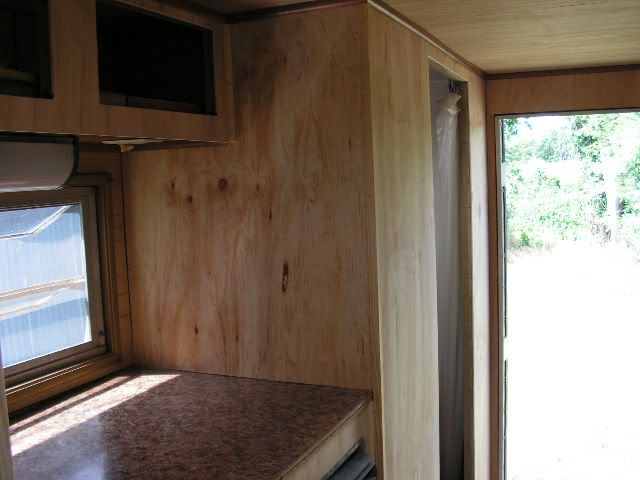
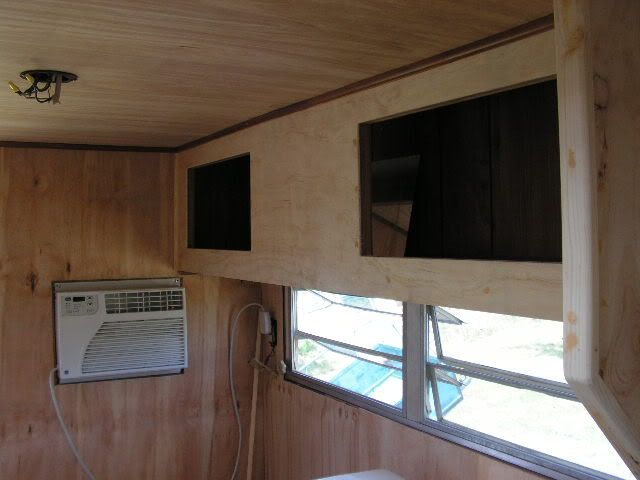
all paneling stained and clear gloss varnished
Notice the new storage above the overhead bunk!

The range hood was painted white, it was also the nice yellow color

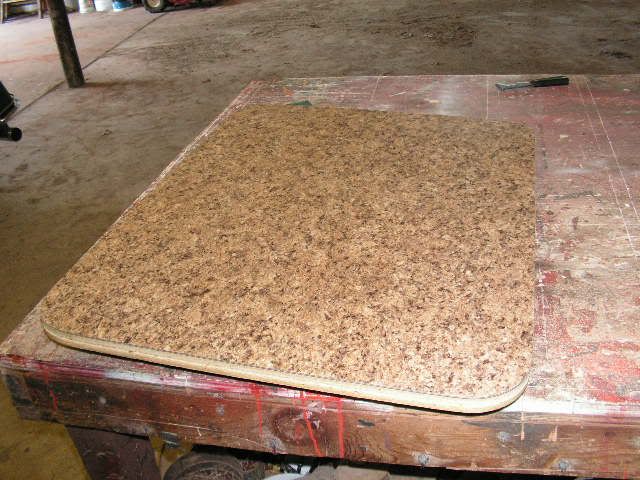
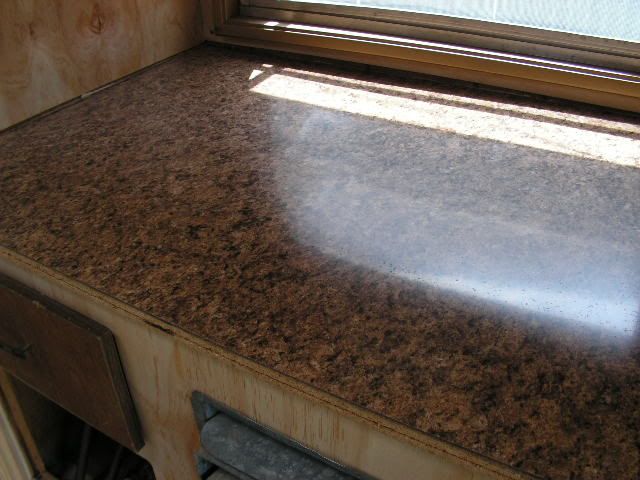
New formica install

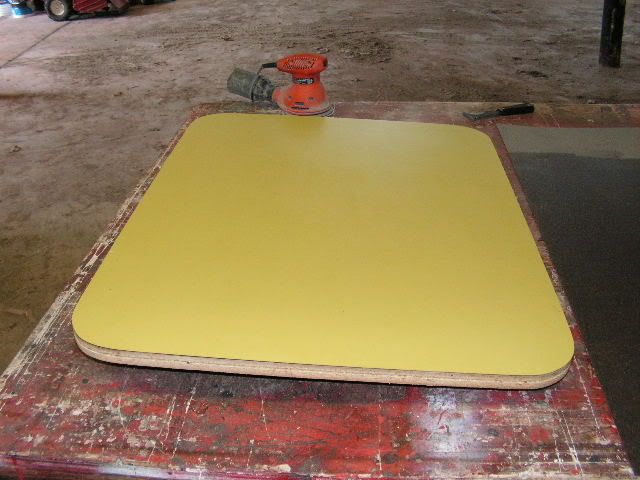
All the original counter tops were a 70's mustard yellow, yuck.
The old table top
The New table top

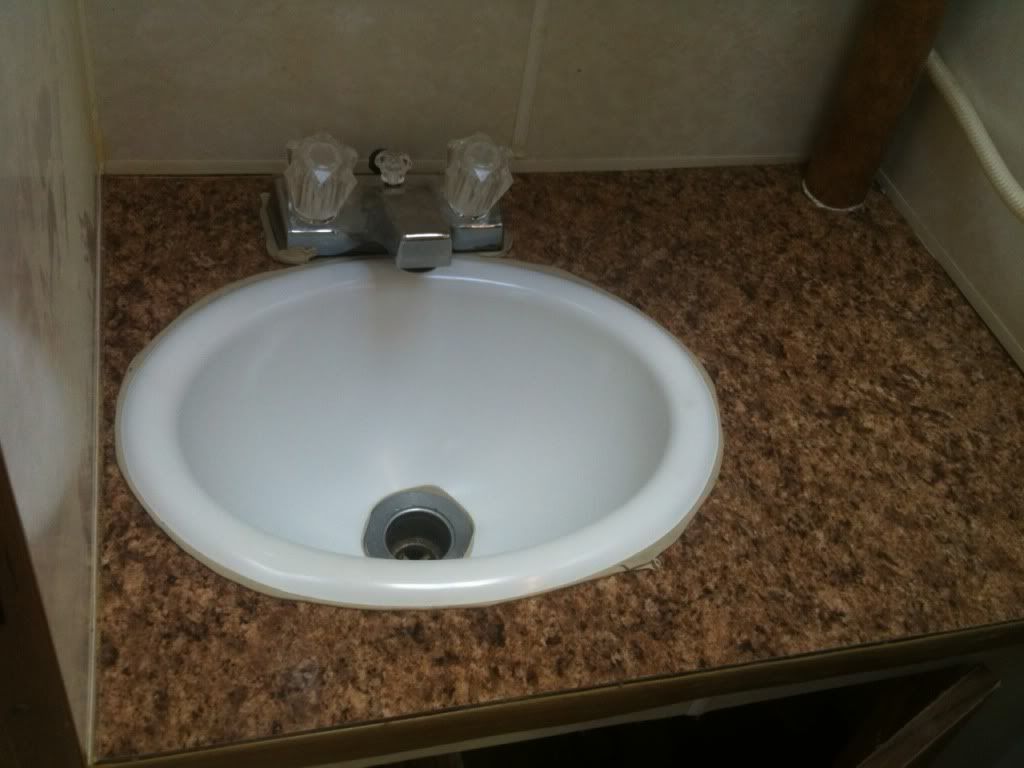
Bathroom sink and top, the sink was also yellow, I painted it with white Fusion plastic paint
Counter top above heater and water tank

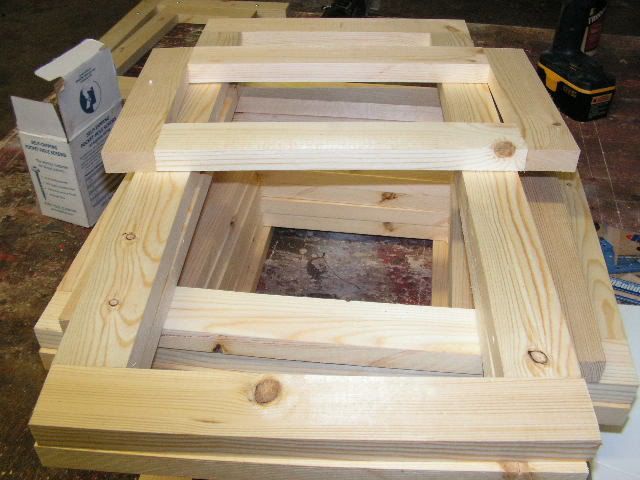
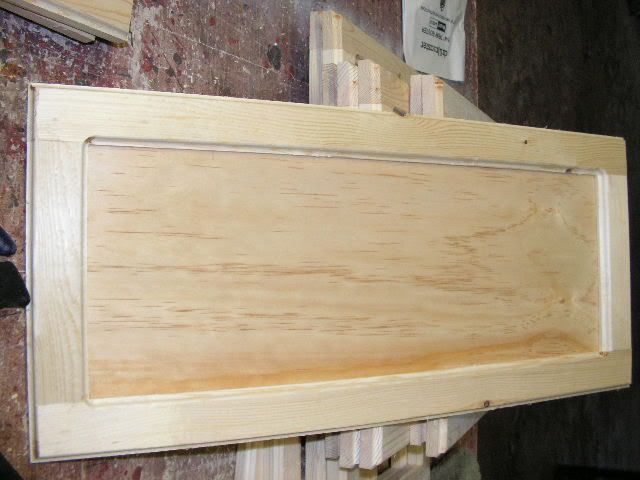
Building new cabinet doors, there are about 20 doors total!

Still at it

I have let this blog get way behind. I have still been working of the restoration, just not keeping much up to date on this blog. So I thought I would try and get everything caught up.
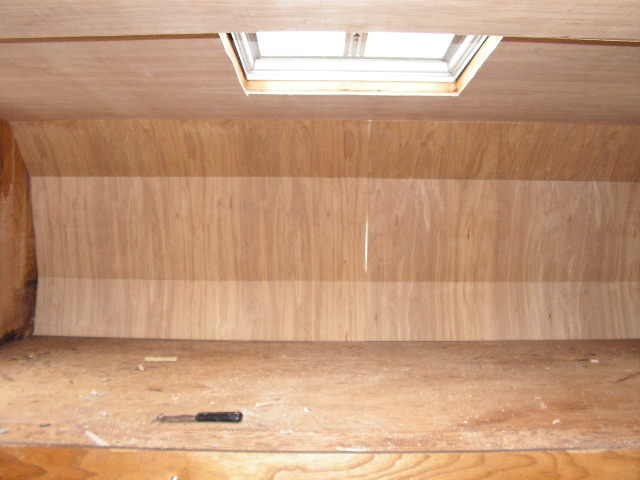
Finally finished installing the new paneling.

Monday, April 2, 2012

Wednesday, February 8, 2012

Back at it!


Well, it has been awhile since I posted, so i thought I would give an update.

 I have been working on the camper, little by little. The outside is back together, and sealed, had a few rains and have not had any water intrusion. I started putting new paneling on the inside, I am using revolution ply for interior paneling. Purchased at Lowe's , it is the only 1/4" material I could find that is actually wood, I guess all paneling these days is made for sawdust with a simulated, wood face, ie, printed paper! the revolution ply is similar to luan board, but has a nicer looking wood grain. the only other option was 1/4" oak, at $25.00 a 4x8 sheet, I felt that was a bit pricey. after I get all the paneling installed my plan is to just apply a couple coats of clear finish. Below are some pictures of new panel on ceiling. I have not cut out the hole for front window in cabover yet.