Monday, April 2, 2012

Wednesday, February 8, 2012

Back at it!


Well, it has been awhile since I posted, so i thought I would give an update.

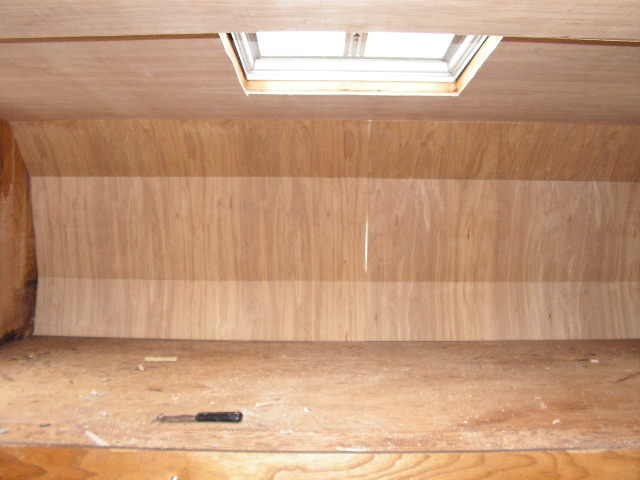
 I have been working on the camper, little by little. The outside is back together, and sealed, had a few rains and have not had any water intrusion. I started putting new paneling on the inside, I am using revolution ply for interior paneling. Purchased at Lowe's , it is the only 1/4" material I could find that is actually wood, I guess all paneling these days is made for sawdust with a simulated, wood face, ie, printed paper! the revolution ply is similar to luan board, but has a nicer looking wood grain. the only other option was 1/4" oak, at $25.00 a 4x8 sheet, I felt that was a bit pricey. after I get all the paneling installed my plan is to just apply a couple coats of clear finish. Below are some pictures of new panel on ceiling. I have not cut out the hole for front window in cabover yet.

Thursday, December 8, 2011

A short update on progress, I have replaced all the rotted frame work of the camper and reinstalled the aluminum skin. We had had some pretty heavy rains while in the process of doing this. Since I am working outside, I had to put a tarp over the camper a few times. I replaced the framework on the back corners with 2x4's instead of the original 2x2's. Before replacing the aluminum skin, I wrapped all the exterior edges with a self sticking rubber flashing, purchased at Lowes. this will hopefully prevent any water from reaching the frame work, if it does happen to get through the edges and trimwork. I only have a few pictures, which I will post below. The door was completely rotten, so I disassembled it and also rebuilt the framework and added solid styrofoam for insulation.


The outside is now ready to be painted, which will have to wait for warmer weather.

Thursday, November 24, 2011

Thanksgiving

I want to wish everyone and thier families a, Happy Thanksgiving today!

The Red Dale will have to be put aside today, as I spend time with my family, and new Grandbaby.

Tuesday, November 22, 2011

Pictures of the task at hand

Drivers side rear

Back

drivers side rear, from the inside

front


front drivers side

interior ceiling, after repair of rot around vent


Door

Close up of door bottom


 These are some pictures of the worst areas. I did not stop working long enough to take pictures of all the smaller areas of rot, I just replaced some of the structure as I came to it. The pictures do not show the point where I had all the skin removed from the entire camper, before doing the repairs, sorry I just got to wrapped up in the work and didn't take pictures of all the damage.
 Not a very good layout, but the pictures wouldn't stay where I wanted them.